Are you looking for an alternative to Optifine? Iris Shaders is exactly what you are looking for. Let us tell you how to install iris shaders in Minecraft 1.19.
If you’re looking for more shaders, check out our best Minecraft shaders guide.
Mods have continued to be an integral part of Minecraft over the years. There is a Minecraft mod for every situation, from improved graphics to increased FPS. Mods make Minecraft the most accessible game in the whole world, and the results show through the increased player counts every year.
If you have been using Optifine and are looking for a like-to-like replacement for Minecraft, Iris Shaders is your answer. But, if you have never installed shaders in Minecraft, doing it for the first time can be a little tricky. So, like always, we will help you figure out how to install the Iris Shaders in Minecraft version 1.19.
To install Iris Shaders, you will first have to download the setup from a good website. Once the setup has been downloaded, you will have to follow a series of simple steps to install the Iris Shaders mod in Minecraft.
How To Download Iris Shaders
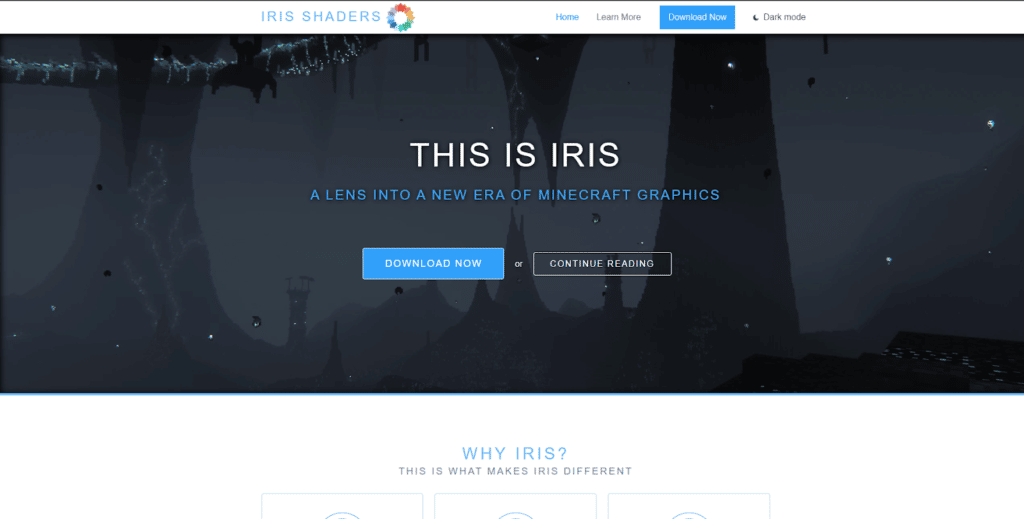
In order to install Iris Shaders, you will first have to download it. While you can download the Iris Shaders from other websites as well, we will recommend that you use the iris shader website. Here’s how you can download it:
- Go to Irisshaders.net
- Click on Download Universal Jar.
- The download will begin. Once it is done, you can now move to the installation process.
How To Install Iris Shaders In Minecraft 1.19
- Once you have downloaded the installer for Iris Shaders, you just have to install it.
- Run the installer that you have just downloaded
- After running the installer, you will be asked to choose the edition. Choose Iris & sodium.
- Select the game version as 1.19
- Click on install
Now, you can run Minecraft with the Iris and Sodium shaders.
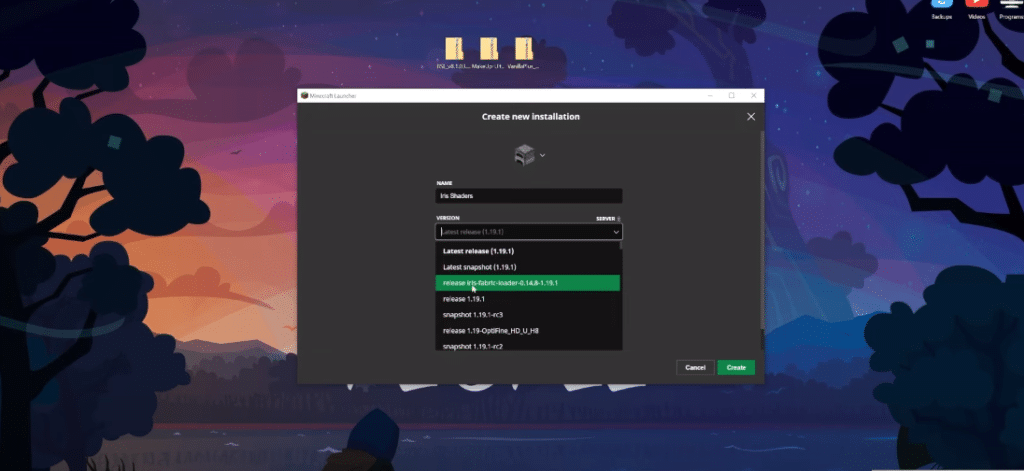
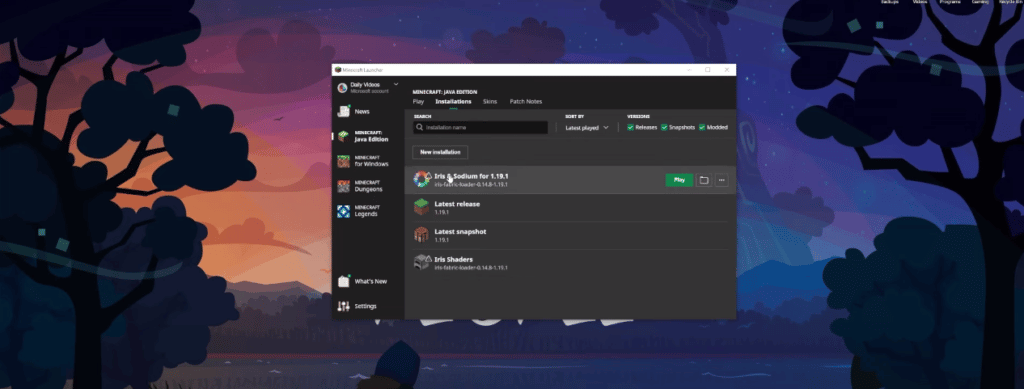
- Start Minecraft using the launcher.
- On the left of the green play button, you’ll see a button. Click it.
- Choose Iris & Sodium. Then click Play.
Following these steps will allow you to play Minecraft with Shaders.
Downloading and Installing Shader Packs
If you are looking to install shader packs other than Iris shaders, this method will work for you too.

- First of all, you will have to download your preferred Shader Pack. There are a few websites for you to choose from, like modrinth or curseforge.
- After you have downloaded the shader packs, you have to apply them in-game.
- To apply, open the video settings in Minecraft, go to shader packs, then open the shader pack folder and drag the shader packs that you have downloaded.
- Once you have dragged them, press done, and your shader packs will be activated.
If you don’t want to take the in-game route, there is another way to install shader packs in Minecraft.
- Go to the windows search bar and type %appdata%
- Clicking on it will take you to a folder. In that folder, try finding a folder named .minecraft.
- After you have opened that folder, create a new folder named shaderpacks.
- Now place the shader packs that you have just downloaded into this folder.
- After that, just start Minecraft using the launcher and select the shader pack of your choice. Which, in this case, is Iris & Sodium.
Downloading and installing shader packs in Minecraft is not an intricate process, but it can take some time to get used to if you are doing it for the first time. In this guide, we have tried to give you the step-by-step detail of what you need to do to install the Iris Shaders in Minecraft 1.19.
We hope that this guide helped you install the shaderpacks into your game.
Looking for more Minecraft content? Check out our other guides:
- Best 1.17 Texture Packs In Minecraft
- Ultimate Minecraft Mining Guide
- Ultimate Minecraft Potion Brewing Guide
- Best Minecraft Mods
Not got Minecraft yet? Buy it from Minecraft.net!