Farming is essential in Minecraft since it can keep your starving stomach full at any time. Also, you can use the crops from farming to trade for different useful resources. That’s why today, we will guide you through the ultimate Minecraft crop farming guide for 1.19!
Prepare For Crop Farming
Assume you already know the basic survival skill and can survive the first night with at least some wooden or stone tools in your hand. Otherwise, let’s go harvest some trees and mine some cobblestone first!
Turn All Dirt Types into Farmland
To grow any crops in Minecraft, you will need a special dirt block called Farmland. In order to do this, you will need a hoe which we will show you how to craft right below!

All dirt variants can be turned into farmland. Simply hold the hoe and right-click on any of the blocks below to transform them.
- Dirt and Grass block: This is the most common block in the game, and you can literally find them anywhere. Require 1 right-click from the hoe to turn into farmland
- Dirt path: Mostly found in the village structure and require 1 right-click
- Mycelium and Podzol: Can be found in the Mushroom Fields and Taiga biome, respectively. Require 2 right-click from the hoe.
- Coarse dirt: Can be found in Savannah, Badlands, and Taige biome. Require 2 right-click
- Rooted dirt: Found under the azalea tree. Require 2 right-click
Craft a Hoe
A hoe is the main tool for farming in Minecraft, and you can use any material to craft it, including wood, stone, iron, gold, diamond, and even netherite. Follow the recipe below to craft one!

Minecraft Farming Layout
To actually farm crops in Minecraft, you will need farmland, a hoe, and seed, a bucket of water, and a way to set up the layout correctly to maximize the output. In this section, we will introduce some of the best farming layouts in Minecraft.
9×9 Shape
The most basic layout in Minecraft history is the 9×9 layout farm. Simply tilt the dirt in a 9×9 shape to create an 81 blocks area. Then break the block at the center and place the water there.
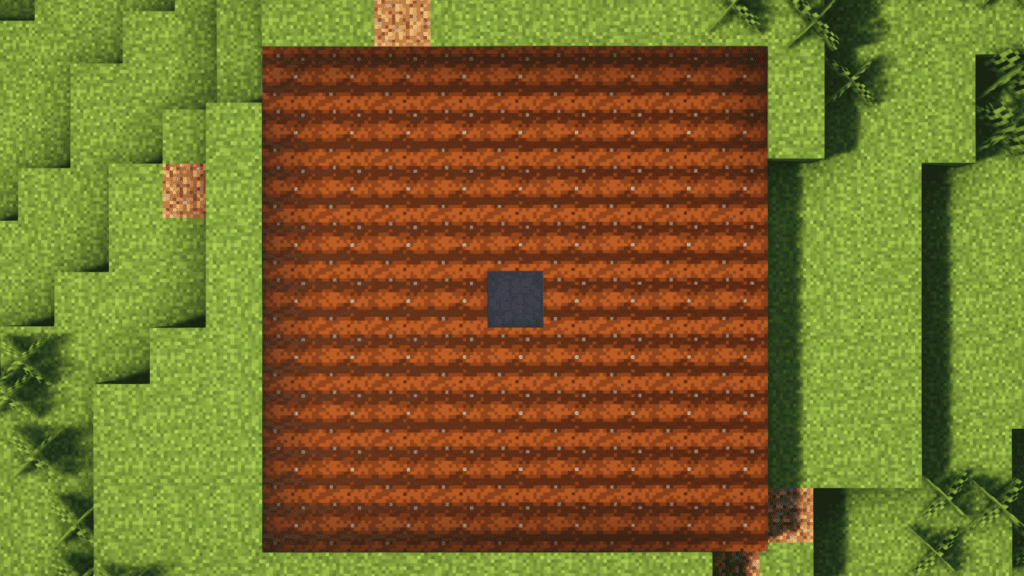
One water block is enough to moisturize 80 blocks around it.
9×9 Tower

This is an upgraded version of the basic 9×9 layout. What you have to do is stack a 9×9 farming area on top of each other and use only 1 water block on the top layer. This will flow down and moisturize all the layers beneath.
Pumpkin/Melon Layout
Those seeds are a little bit special, so you have to build another layout for them. First is the line layout, which means you have to plant them on a line separate from an empty line so the pumpkin and melon can grow.

The other layout is a checkerboard, which can be seen below.

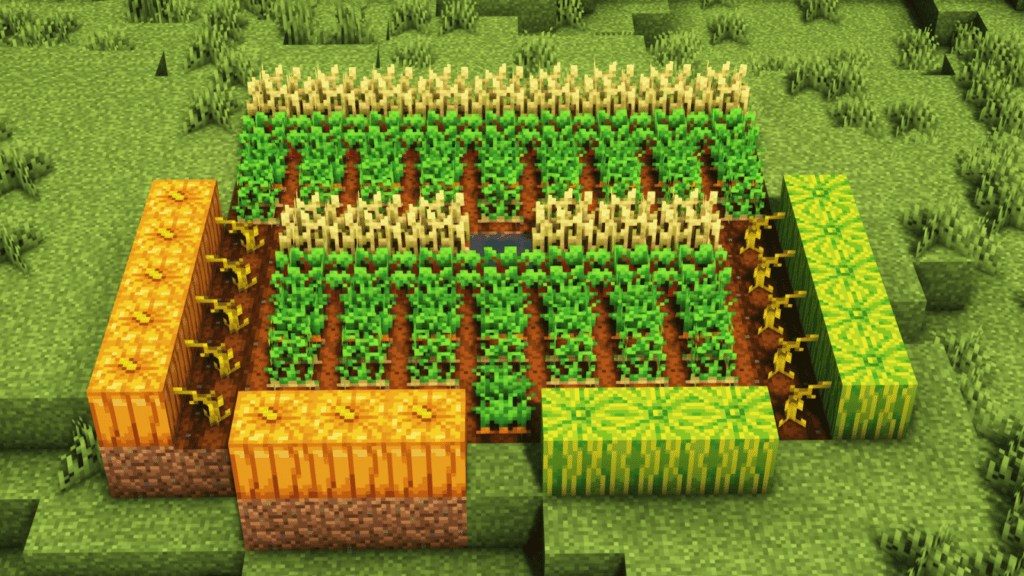
Mix Layout for Sugarcane

If you want to grow sugarcane in addition to other crops, just use this simple layout.
Minecraft Farming Technique
Farming is a technique where you need to plant the seed on the farmland near a water block for it to moisturize. Then you either wait for the crop to grow or use bone meal to make it go through stage by stage. When it reaches its final stage, you can harvest the crop to receive extra seeds and food.
Farming without Water
Without water, the farmland block will be dried and turned into a normal dirt block, unless you have already planted a crop on it. With that being said, if you have a quick hand, you can create a crop farm without water. This is extremely useful while you’re planning to farm in the Nether biome.
Just remember that crops will grow slower in dried farmland.
Light Level Affect Farming
Each block in Minecraft has 2 types of light levels: sky and block level. While sky level involves the sun and most blocks are affected by this. In case you’re underground, you must rely on the block light level.

The crop can grow in the dark, but one of the light levels must be higher than 7. Otherwise, you can’t right-click to plant the seeds. To increase the block light level, you must manually place light sources near your crop farm. Some of them such as torches, glowstone, sea lanterns, and more!

Light level does not affect growth speed so you can plant your crops anywhere you like.
Cover the Water Block
Sometimes you will notice it’s annoying to have an exposed water block. You may fall in and try to jump off, then tremble your crops in the process. We also got you covered!

Simply use a lily pad to place on top of the water block. Or use any type of slab and stairs to put in the half top of the water source block. Since those blocks are waterlogged, the water is still there to hydrate your farm.
Best Way to Plant Your Crops
Crops in Minecraft have various stages; to grow to an older stage may take from 5 minutes up to 35 minutes. This time depends on how ideal the condition of your crops is.
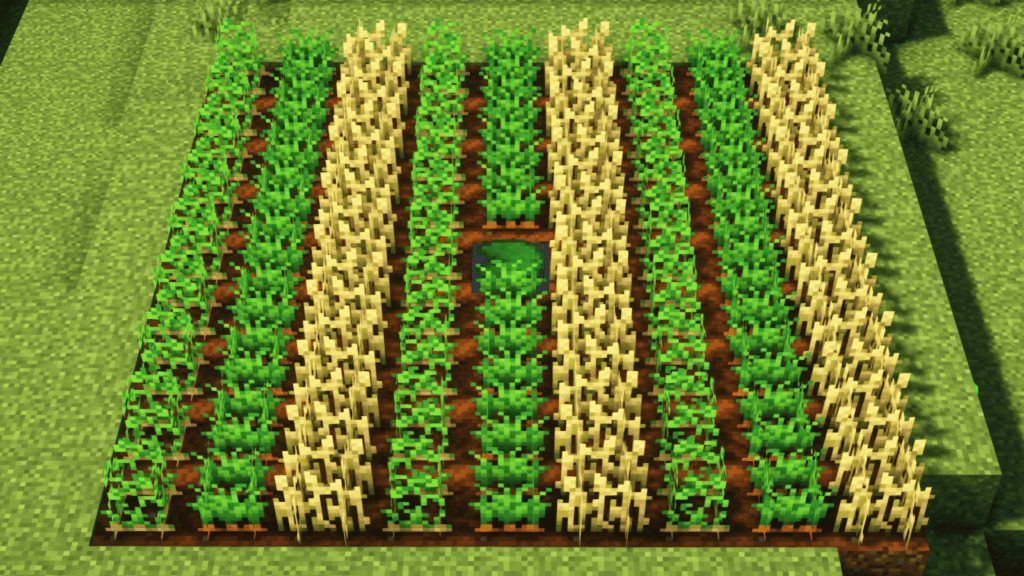
The best condition you can provide is to have the farmland hydrated, provide enough light sources, and plant in alternative rows. For example, if you have a 9×9 area, use the first row to plant wheat, then the next row for potato, and repeat the pattern.

Except for pumpkin and melon, you don’t need to plant them in alternate. The most efficient way to grow them is to use the checkerboard layout since each stem can have up to 4 blocks to grow.
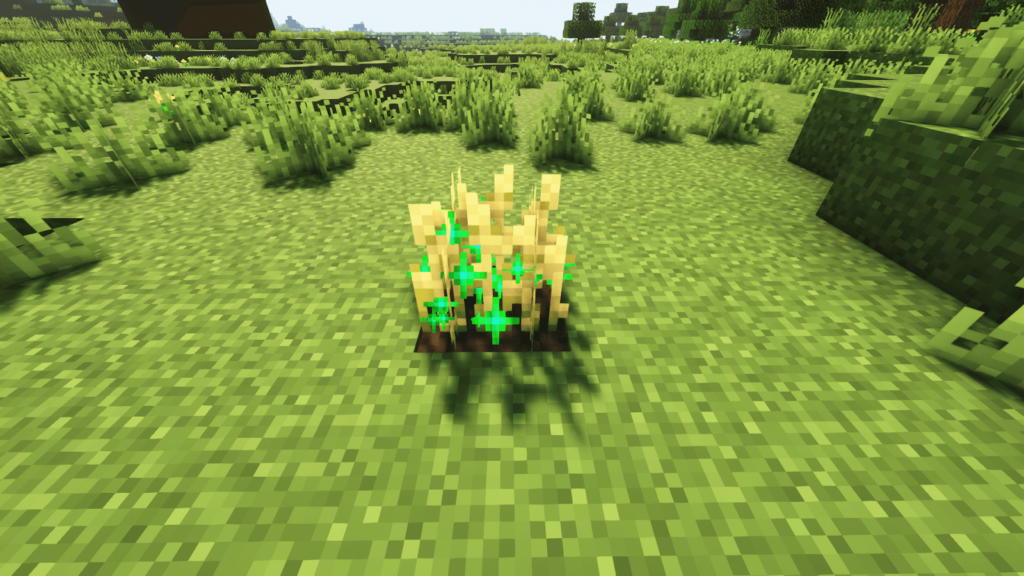
Alternatively, you can use the bone meal or bee pollinating method to accelerate your crop’s growth speed.
Minecraft All Seeds and How to Find Them
Despite the fact that you can farm and grow many things in Minecraft, those seeds and crops below are the ones you can plant on the farmland.

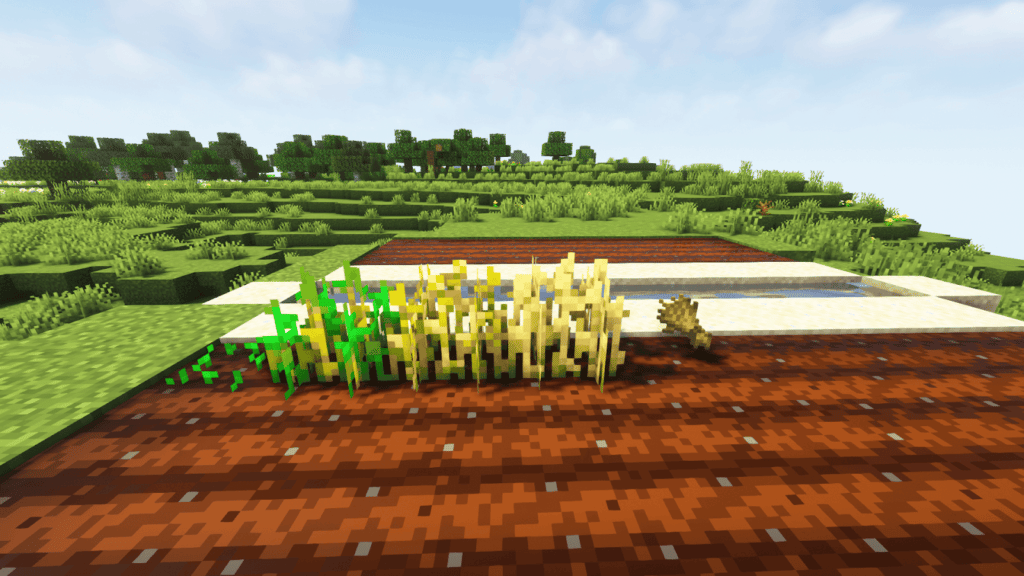
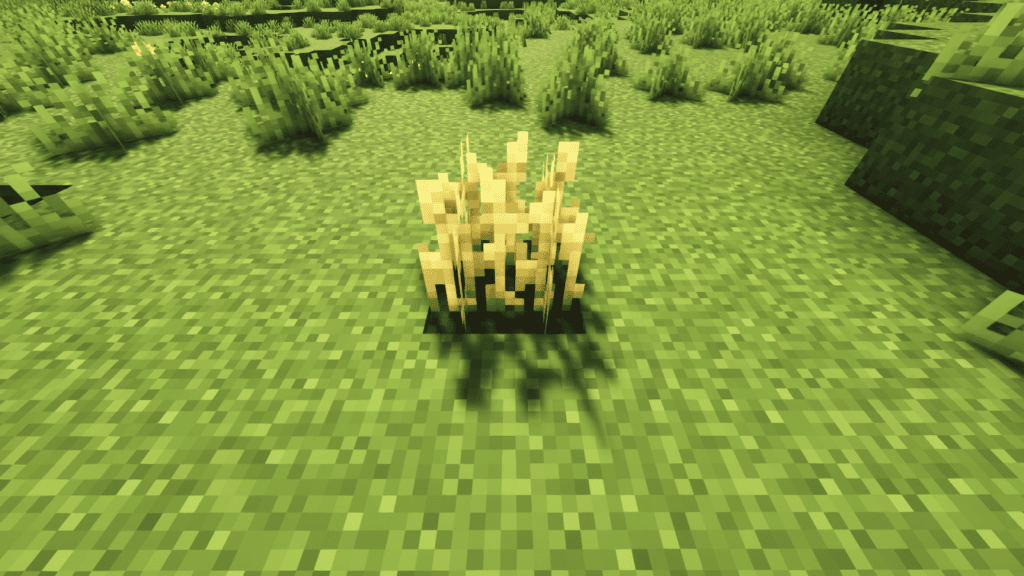
- Wheat seeds: This is the most common seed in Minecraft that can be obtained by breaking grass or tallgrass.
- Beetroot seeds: Found in village’s farm and looted chests in dungeons, mineshafts, end cities, villages, and woodland mansions
- Carrot: Found in the village’s farm and from killing zombies, zombie villagers, and husks. You can also find carrots in chests in shipwrecks and pillager outposts
- Potato: Same as carrots, but you can also find potatoes in chests in the village
- Pumpkin seeds: While adventuring around in grassy biomes, you can find some wild pumpkins on the ground. Break and put them in the crafting grid to get 4x pumpkin seeds for each pumpkin block.
- Melon seeds: Same as pumpkin, you can find wild melon generated in jungle and savanna biomes.
Conclusion
Now you know all about crop farming in Minecraft, farmers! Let’s jump straight into Minecraft and get those seeds planted the right way!
FAQs about Farming in Minecraft
Can you harvest more crops with Fortune III?
You can actually harvest more crops and seeds with Fortune III on your tools, no matter if it’s a hoe or not. For wheat and beetroot, you can only get more seeds but not the main crop. And for potatoes and carrots, you will get more of them!
How long does it take for crops to grow in Minecraft?
The average time for a drop to grow fully in Minecraft is 52 minutes. So make sure you provide your crops with the best condition, as mentioned above in this guide!
How do you make crops grow faster in Minecraft without a bone meal?
Use the alternate layout with one row of crops and the next row for another type of crop. This way, your crop will grow much faster than planting one type of crop in a place.
Looking for more Minecraft content? Check out our other guides:
- Ultimate Minecraft Mining Guide
- Ultimate Minecraft Mining Guide
- Ultimate Minecraft Potion Brewing Guide
- Ultimate Minecraft Piglins Bartering Guide
- Best Minecraft Mods
Not got Minecraft yet? Buy it from Minecraft.net!